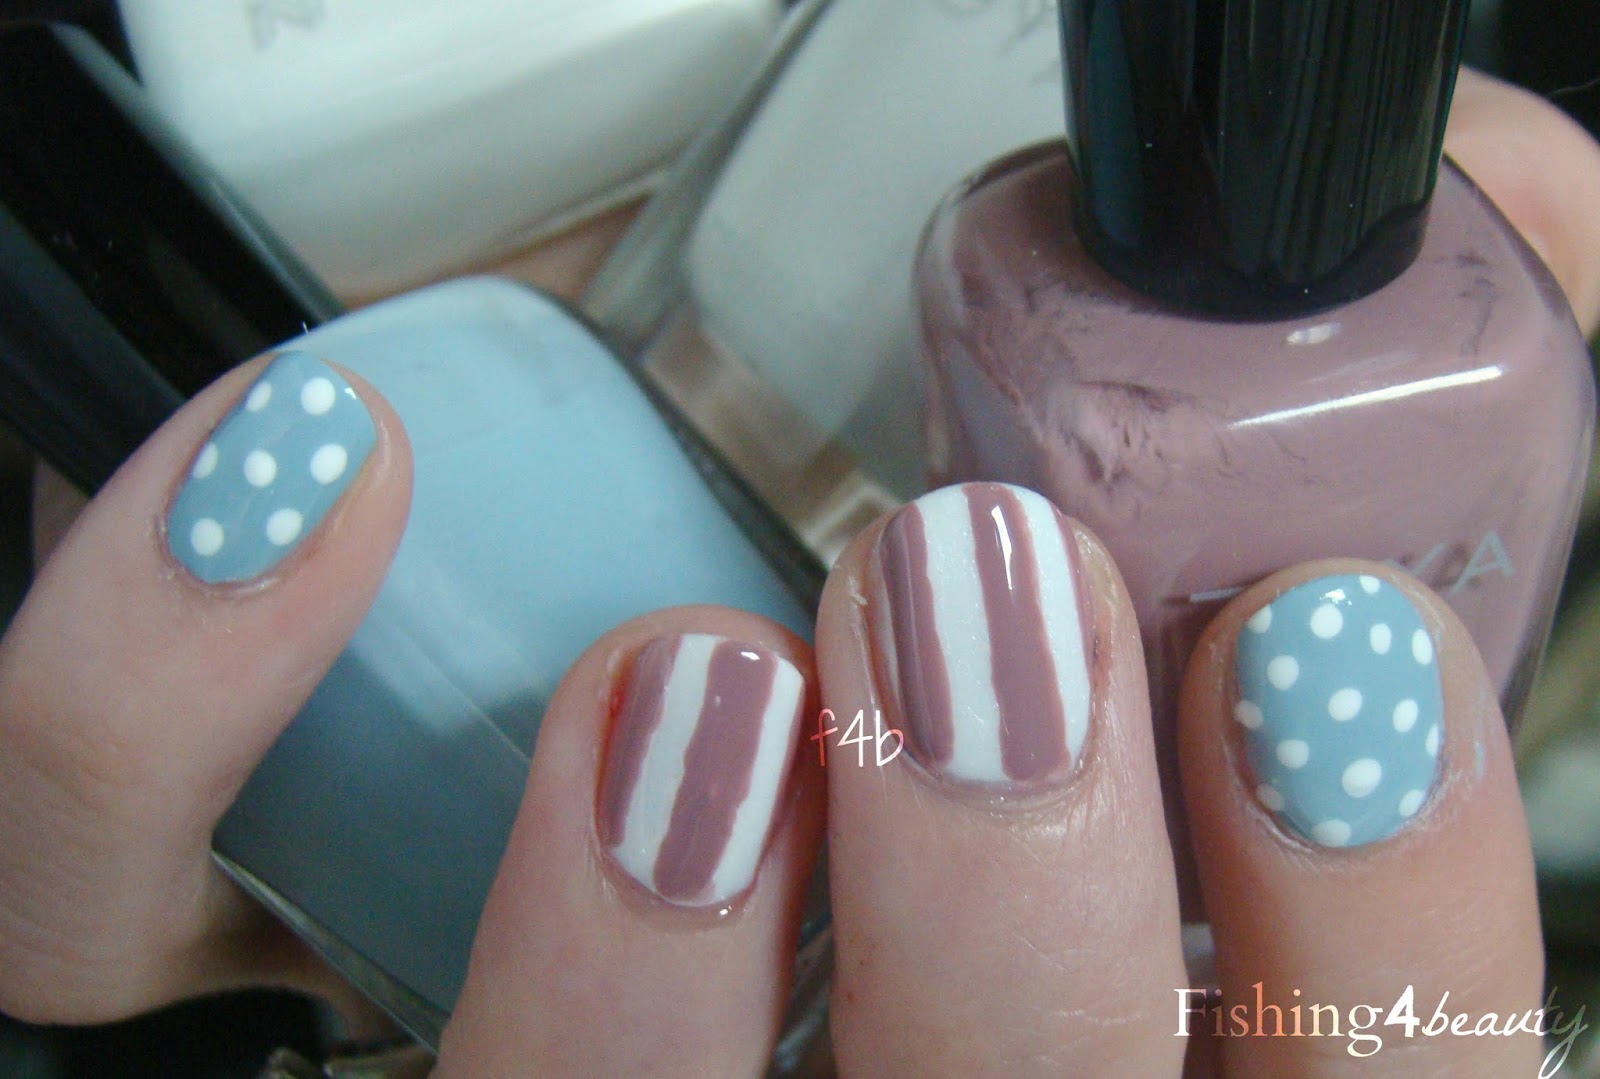
So all week my nails have been sporting Zoya Kristen. Zoya's website describes Kristen as "a gull gray nail polish with a mild bluish hue." She's gorgeous and is my go-to polish for the winter to spring transition. See how beautiful she is:
This picture was not taken today, it was taken the last time I wore Kristen. Earlier this month I painted my tips with this delicate blue on a bright sunny day. Today is a grey cloudy January day:-\ But the perfect day to show you a fun tutorial.
Donna Karan's Spring 2012 dresses were all completely stunning. But the ones that stood out to me the most were the monochromatic tribal prints, as seen below.
In all honesty, I'm a sucker for anything black and white. So naturally these tribal prints inspired me. As I just said, I LOVE monochromatic color palettes especially black & white. However, I thought it may look rather harsh against my pale wintery skin. Instead, I decided to use blue & white, to soften the entire concept. Here we go!
Tribal Print Tutorial
This is what you will need:
-base/background color
-another color of polish to create your design
-small old makeup brush or paintbrush (mine was from
this brush kit with for $1.99)
-skewer, toothpick, or pin to make the fine lines
-topcoat
Optional:
-basecoat
-remover pen for cleanup
***I apologize for any blurry pictures, I was having trouble focusing my camera in macro. Also the coloring is off, but only so you can see the steps better.***
Step 1: Prep your nails, use your basecoat, etc. Let dry completely.
Step 2: Paint
your nails in your base color. I used
Zoya Kristen
($8 from
zoya.com). Make sure you achieve the desired opacity in as few coats as
possible. I used 2 coats. Let dry completely.
Step 3: Get
your fine brush. Unscrew the lid of your layering polish and scrape
the polish off the brush onto your brush. Pick
which finger you are accenting with this design (if you were REALLY
ambitious you could do this to all your nails...) and draw 2 parallel lines on the left side of your nail.
Step 4: Between the lines you just created, add smaller lines to create a ladder-like design. Do not place them too close together or you will be unable to finish the design.
Step 5: Within the squares that you just created when painting the ladder, you're going to paint forward and backward "L" shapes. Make sure the "L" shapes touch the left most line on your finger.
Step 6: In the middle of your nail paint a wide white line separating the left side that you just painted from the right side.
Step 7: On the right side of your nail you are going to paint a boxy looking zig-zag.
Step 8: On the far right side of your nail make upside-down "T" shapes. The bottom of the "T" shape should fit in the boxy zig-zag pattern.
Step 9: Finally, next to the wide line in the middle add some dots. I added mine to the left side of my nail. We have now painted your nail from left to right. If you are left handed or painting your right hand you may find it easier to do it in the opposite direction.
Step 10: After it completely
dries. Finish with your favorite topcoat. This not only helps your
manicure to last longer but it also tends to even out the texture.
Voila!
There
is absolutely no right or wrong way to do this design. Make it your
own by changing the design to suit your taste. And it's better than
nail strips because you can do the colors you want. I would LOVE to see
what you come up with! If you end up doing this link,
facebook, or
email me your picture! I cannot wait to see where you take this:)
 |
| The sun came out for a picture! |
***Please stay tuned for an upcoming giveaway featuring some gorgeous Zoya polishes!***